News!
Metrology laboratory
There is also an efficient metrology lab among the many investments with which Prosilas celebrates its first twenty years in business. It was in fact 2003 when Giulio Menco, an experienced aeronautical engineer who realised the enormous potential of 3D printing applied to industry, started a rapid prototyping service using additive technology.
Then the baton was passed on to his daughter Vanna, the current CEO of Prosilas: her strong entrepreneurial skills, passion and determination have made the project grow to such an extent that the company has become one of the largest additive manufacturing centres in Europe, so much so that in 2022 the service became part of Prototal Industries, Europe’s largest polymer processing group, and obtained the important ISO 14001:2015 environmental certification.
This year the company is therefore celebrating its 20th anniversary with major investments: an expansion of the plant and workforce and a renewal of the ‘technology park’, both for quality control and production. Including, of course, a metrology laboratory.
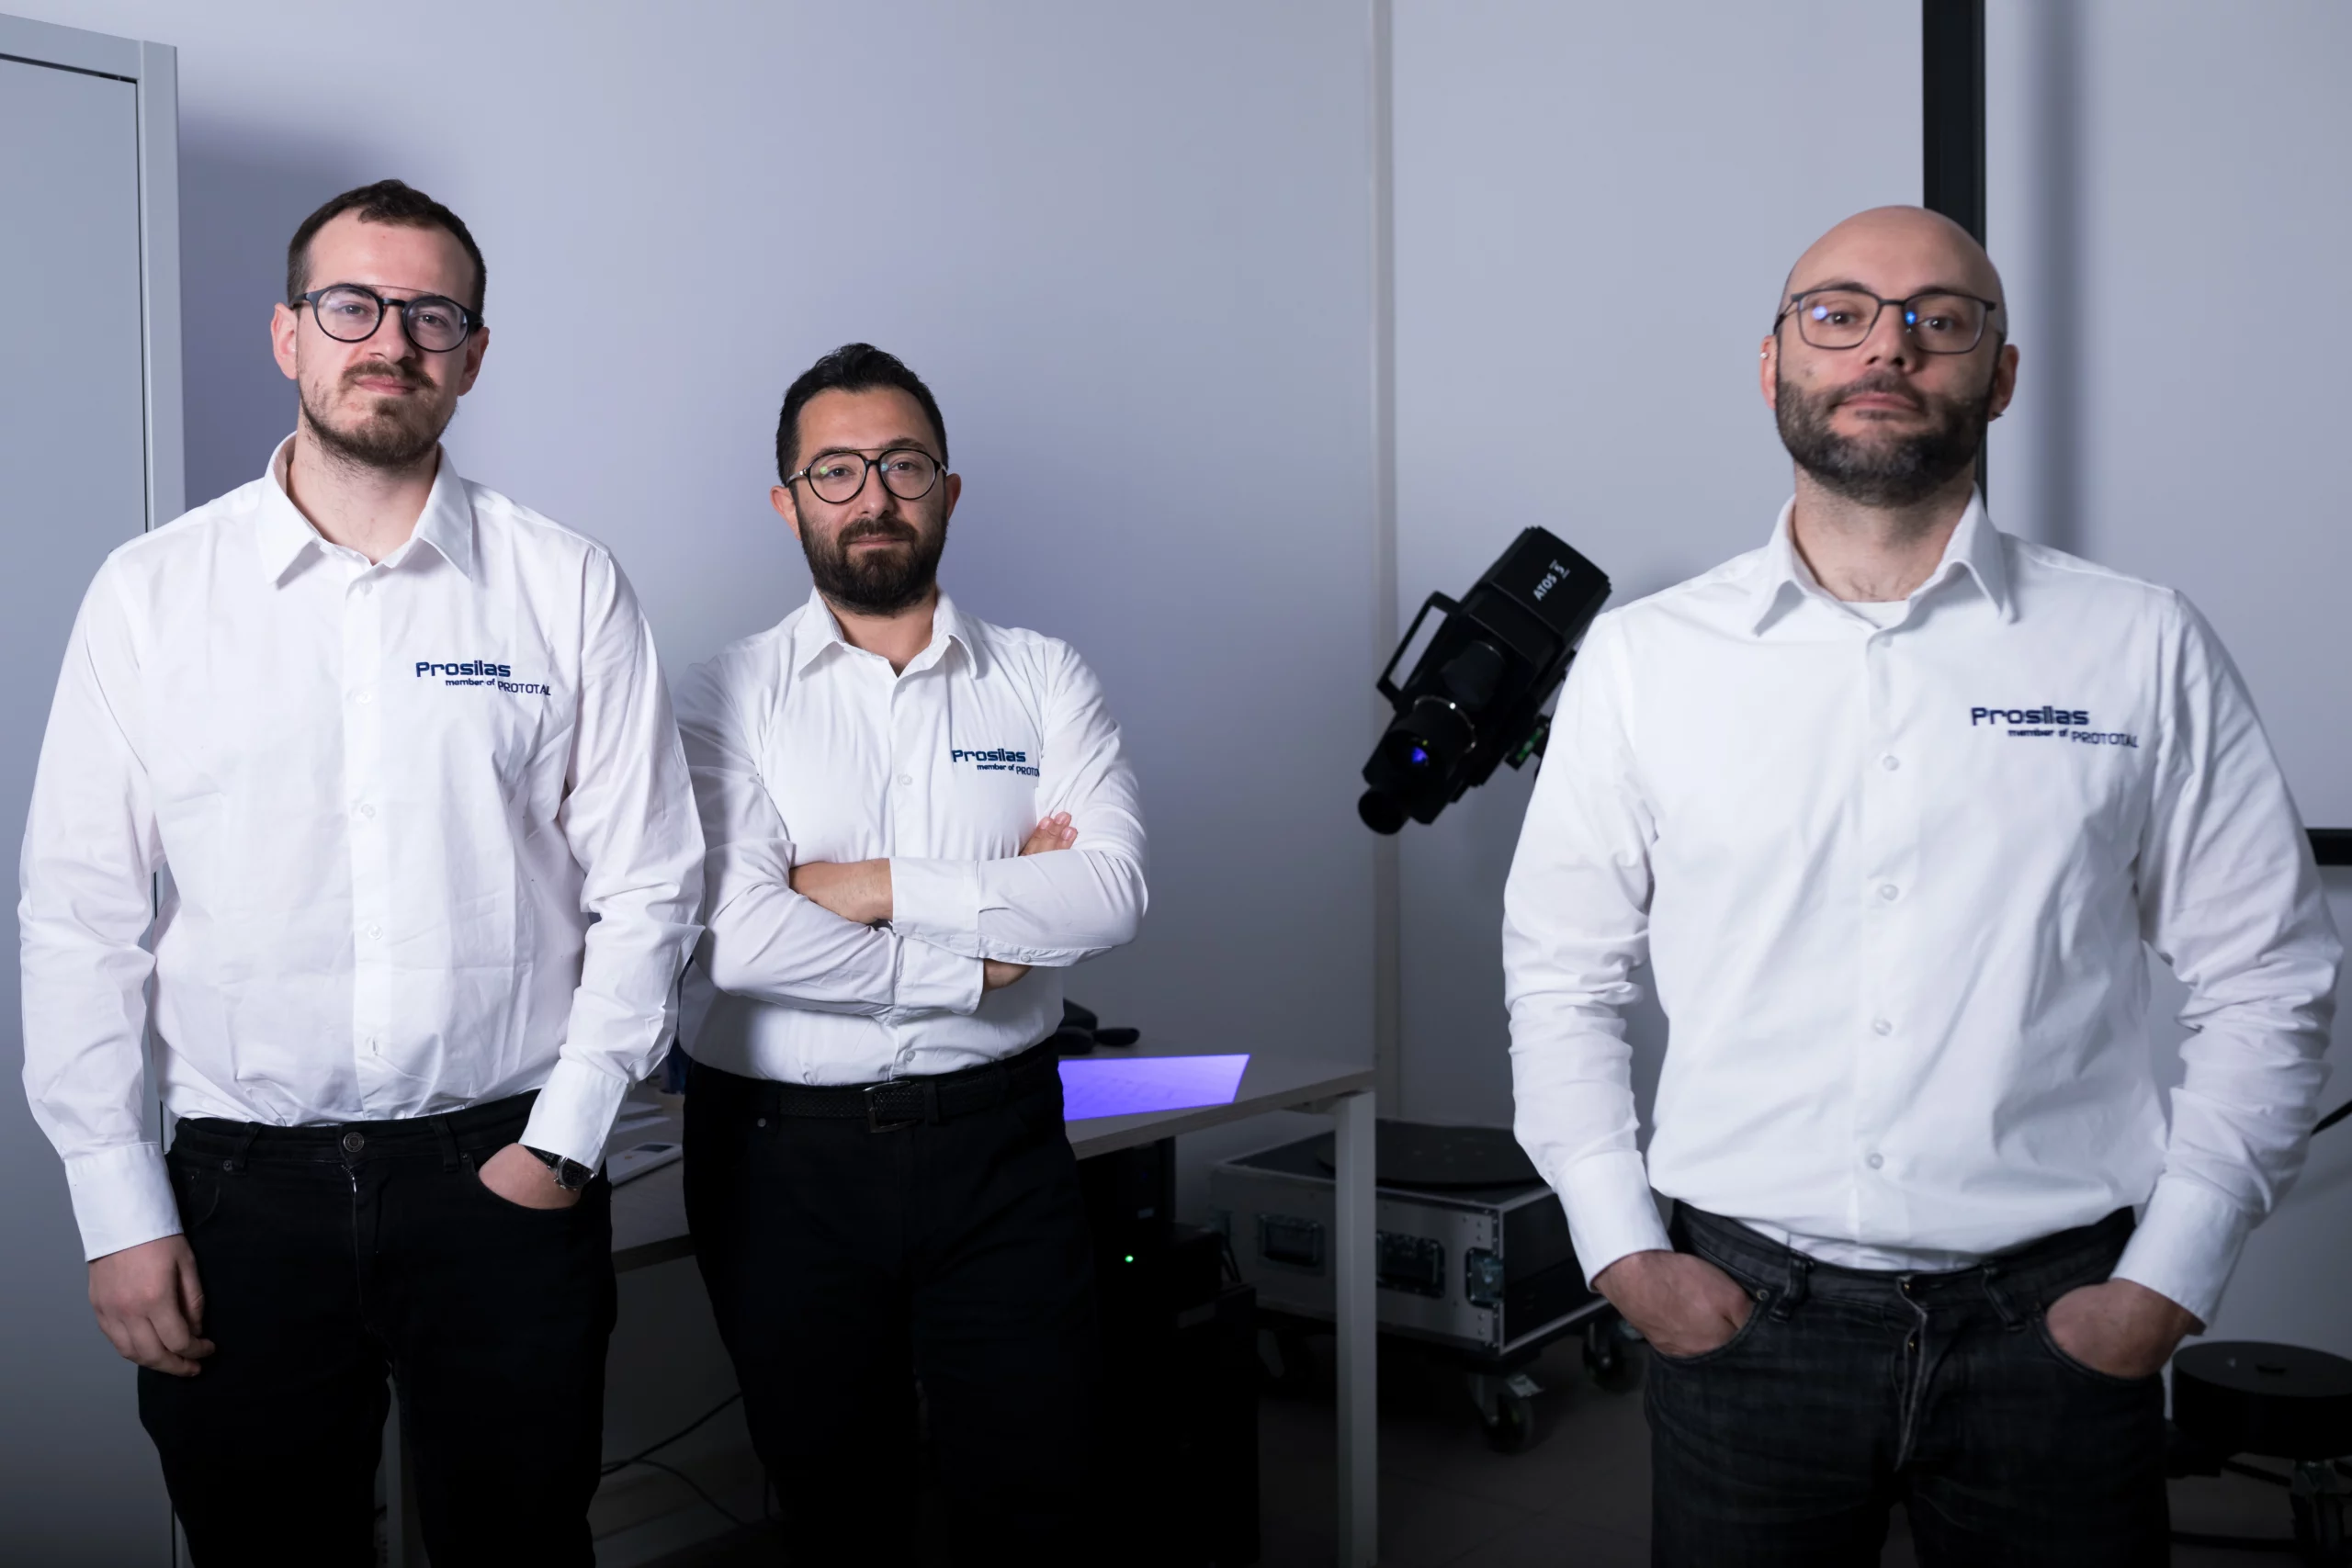
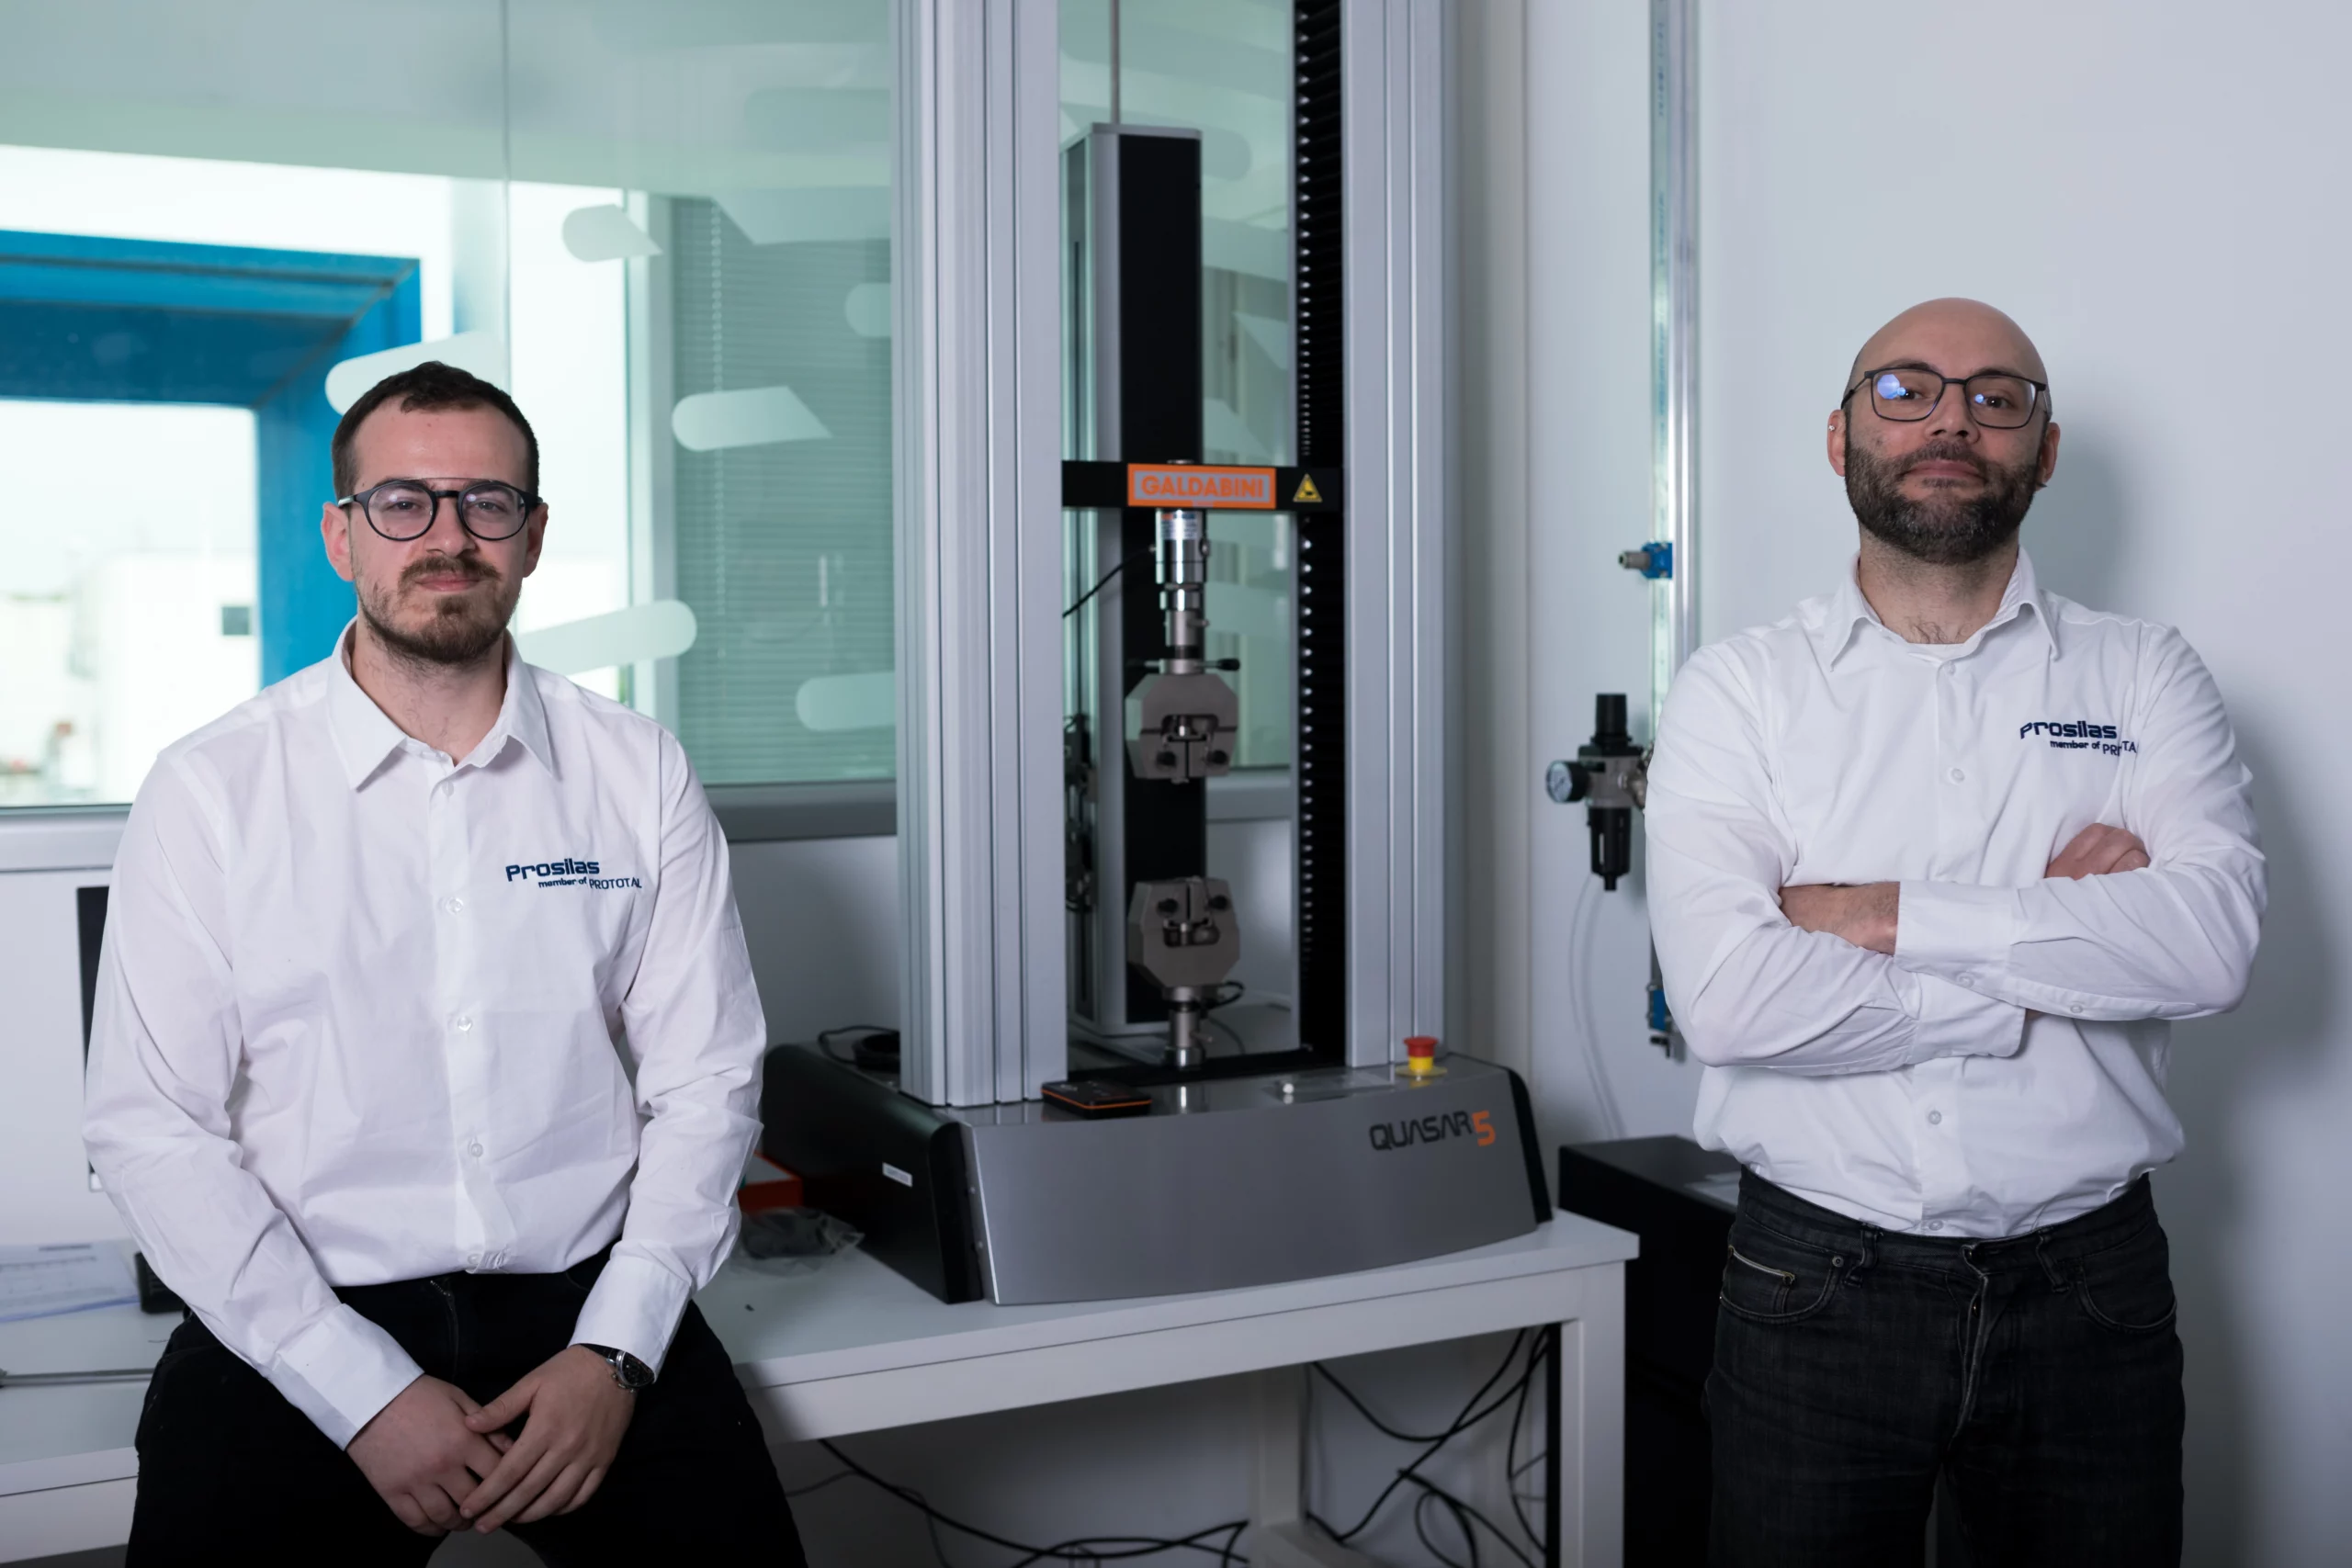
Matteo Biancamano, Quality Manager, Roberto Nasini Senior Technician, Marco Soldini Plant Manager
Metrology at the service of quality control
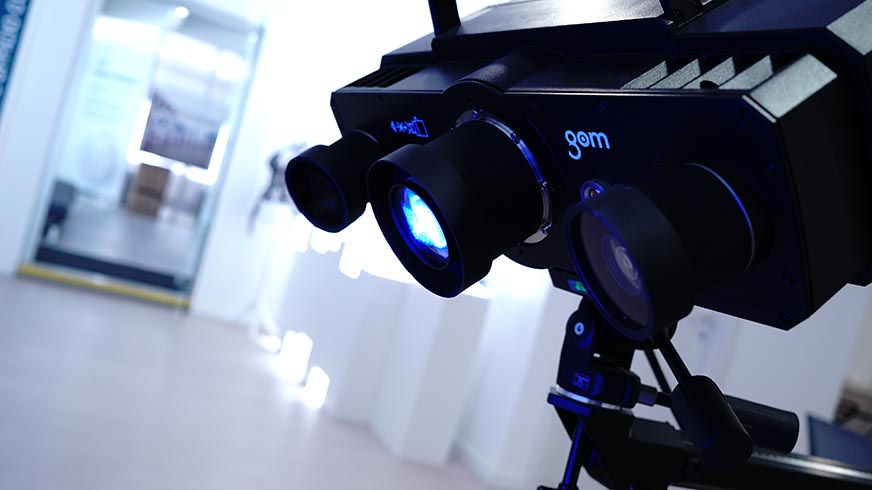
In addition to acquiring new production devices, Prosilas has also chosen to invest in a metrology laboratory where precise and reliable measurements are made on the instruments and materials used, so that they conform to the standards required by the market and have certified quality. ‘The role of the metrology lab,’ says Matteo Biancamano, Quality Manager at Prosilas, ‘is to verify and control our internal production process. The components we produce are measured either by scanning with a GOM Atos5 scanner or through gauges that are regularly calibrated with planparallel blocks. The laboratory is also equipped with a calibrated pin set and a brand new Galdabini tensile machine. All measuring and calibration equipment is Accredia certified.”
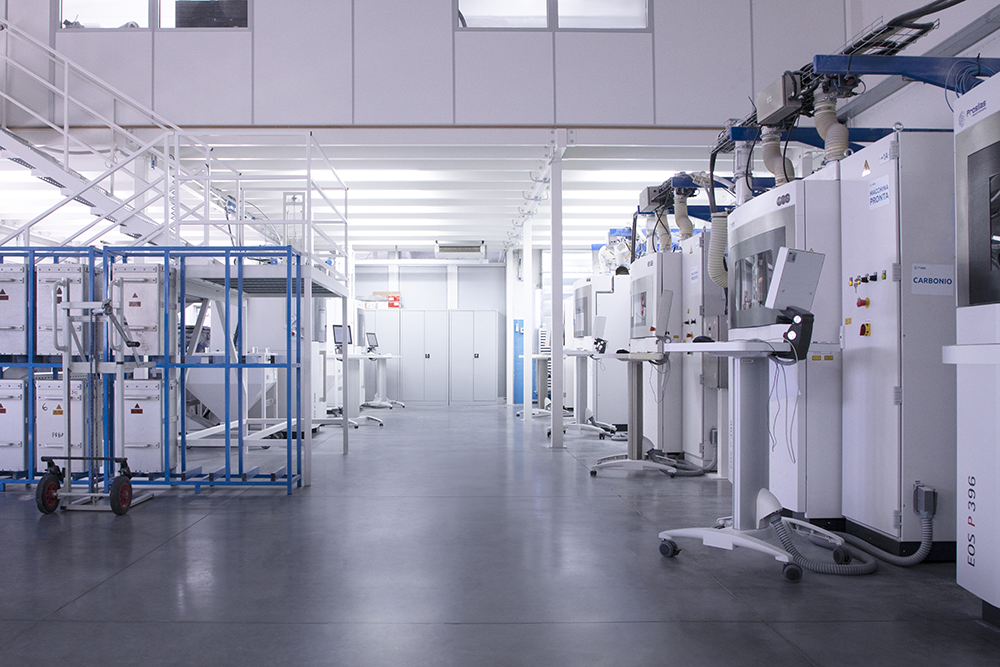
Instruments and analysis cycle in the laboratory: the scanner
But what actually happens in the metrology lab?
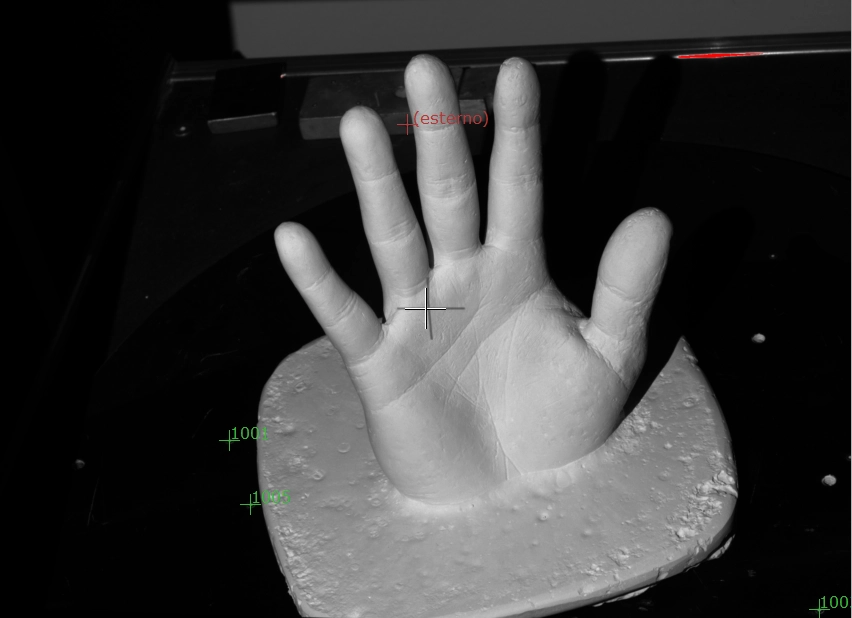
“Let’s start with the scanner,” explains the Quality Manager, “while the machine goes through its warm-up phase (about 40 minutes) and comes up to temperature, ready for scanning, the component to be analysed is placed on the rotary table and alignment marks are attached to it. Once the scanner is started, the component is brought into focus and the series of measurements and image acquisitions begin, leading to the dimensional checks, through the analysis and comparison of surfaces and the resulting dimensional reports.”
And that’s not all: the analysis and measurement cycle includes further steps. “During the pre-alignment phase,” says Biancamano, “the software recognises the geometries of the part and cross-references them with the 3D files. The best-fit phase, on the other hand, involves the analysis of specific zones for an even more accurate and specific dimensional investigation. Subsequently, the comparison and surface analysis allows any discrepancies to be identified.”
Instruments and analysis cycle in the laboratory: the tensile machine
“Lastly, we have a Galdabini tensile machine which, once we have inserted a few sections of the material we wish to measure, exerts a force over time until our sample breaks. Once this last test has been carried out, the software releases the graph of the entire measurement process, showing the trend of the force as a function of the component’s elongation. This tool is very useful to have more control over our production. For example,’ Biancamano concludes, ‘it is possible to check that the mechanical performance of our components is homogeneous throughout the entire production process, even considering the orientation of the component itself on the machine, so that we can then be able to advise the customer more precisely.”
The objectives of the laboratory
“Now, the objective of our metrology laboratory is to guarantee consistently high quality standards over time on all our production and to increase our experience, in order to be able to transfer it to our customers, for whom we want to be true production partners. For the future, however, the goal will be to implement and acquire more equipment to enable us to offer an even higher quality product. This is why more personnel will certainly be trained on the use of all the instrumentation in the laboratory,” concludes Matteo Biancamano.
Being a service and cosulting partner for Prosilas means providing customers with a sustainable, advanced and flexible way of managing production by offering the widest range of solutions, where quality is measured, guaranteed and certified.
