TPU: A Flexible Material for the Industry
TPU, 3D SLS material, meets any industrial applications
TPU (Thermoplastic Polyurethane) is a fundamental element in industrial production with additive technologies, especially in the realm of 3D SLS printing applications.
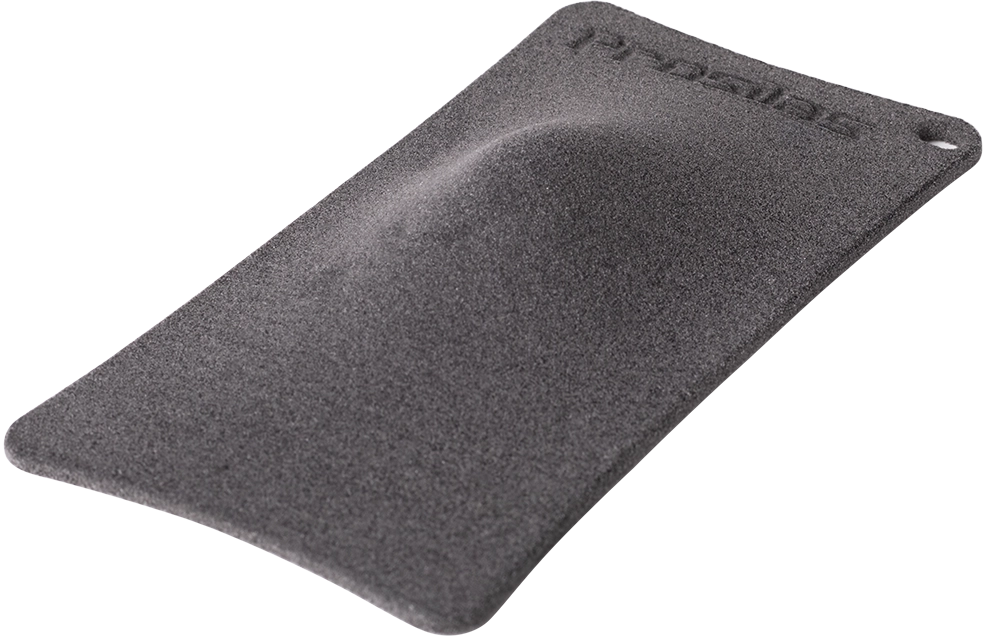
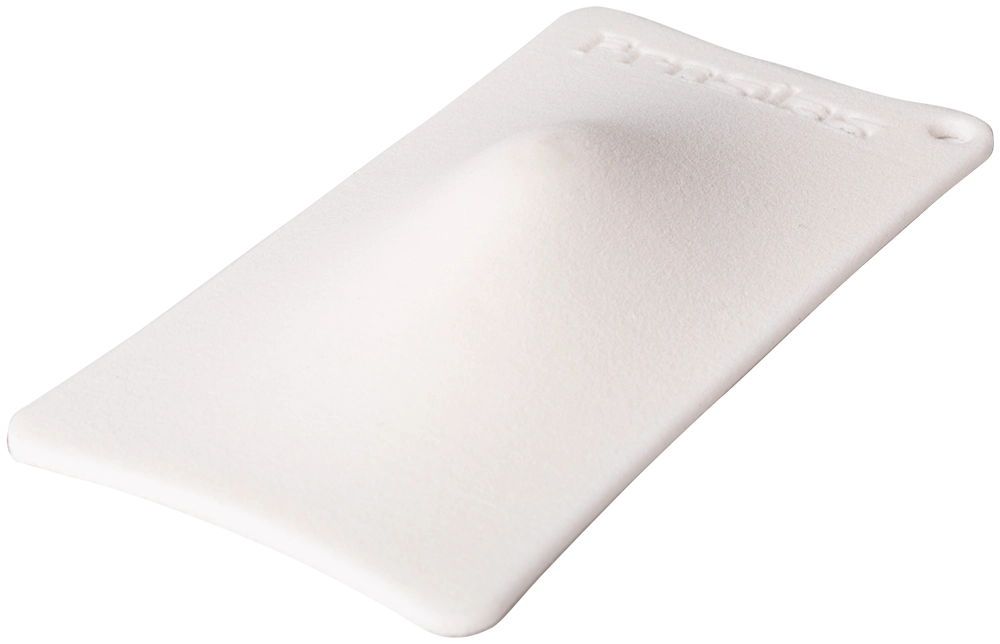
At Prosilas, we take pride in working with BASF Forward AM‘s TPU88A, providing solutions in both white and black colors, and opening the doors to a wide range of industrial applications.
Characteristics of TPU 88A
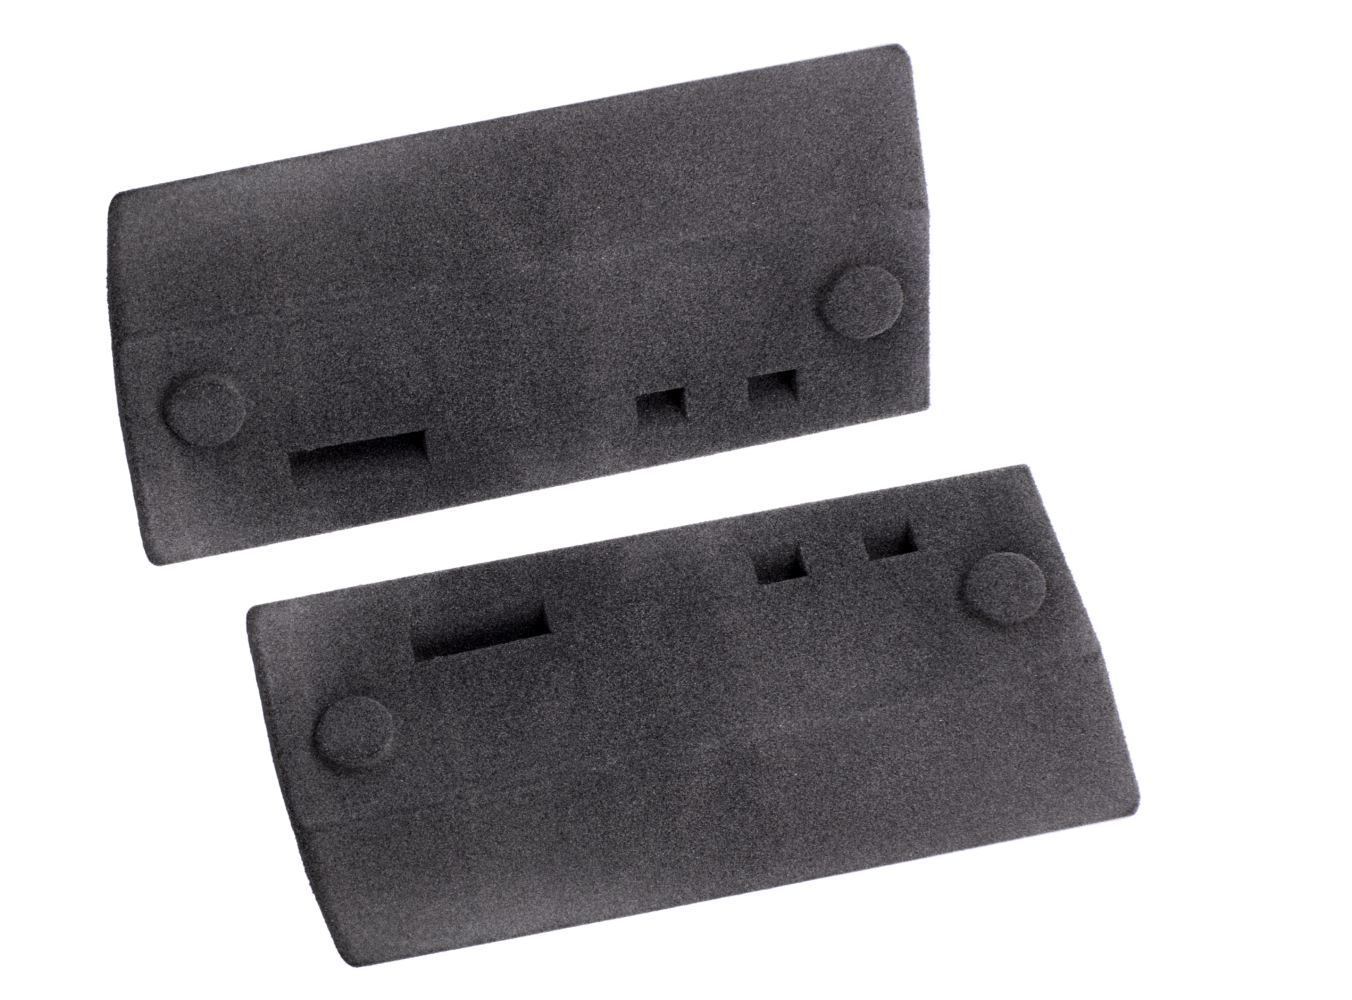
TPU is a material that emulates rubber and is widely appreciated for its flexibility, strength, and elasticity.
Its workability allows the creation of parts with exceptional mechanical properties, making it ideal not only for prototypes but also for mass production.
Productive Collaboration with BASF Forward AM
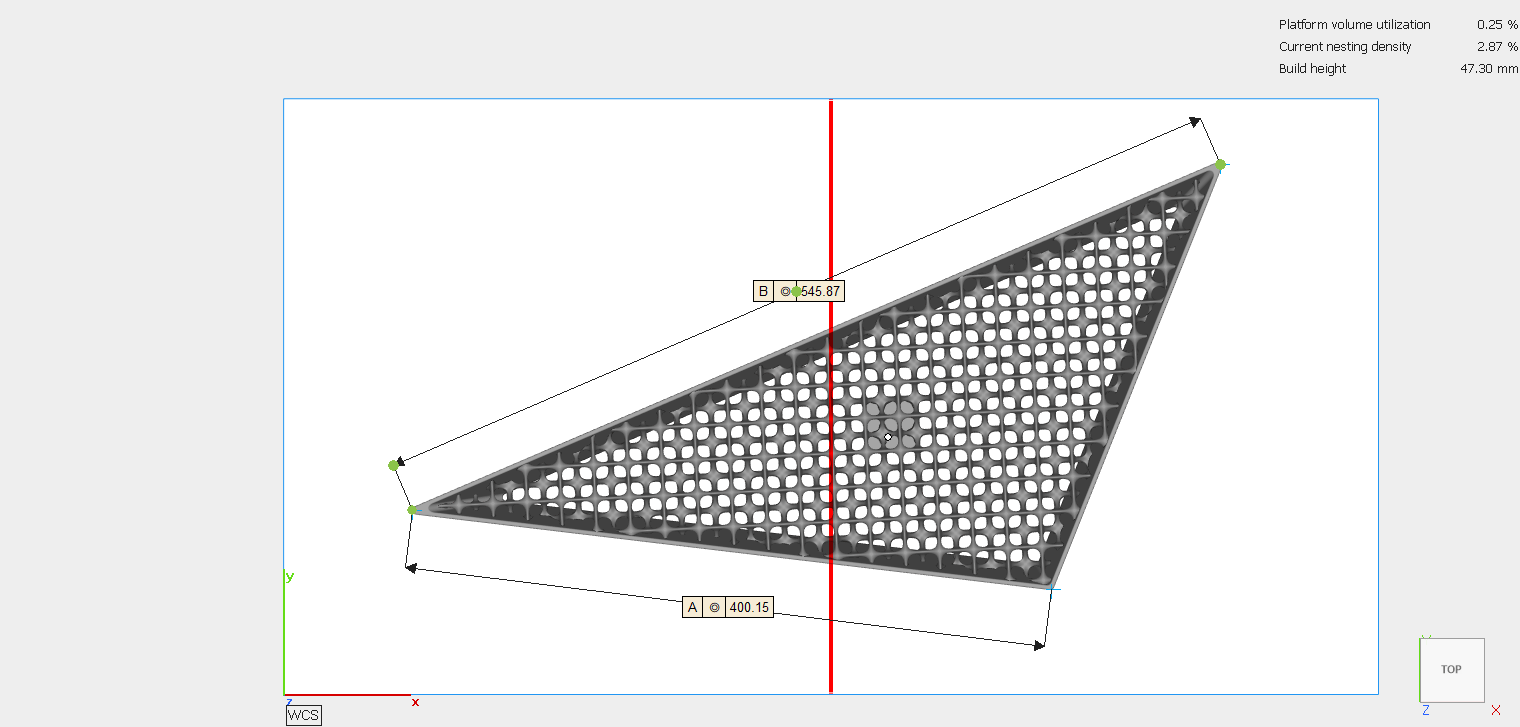
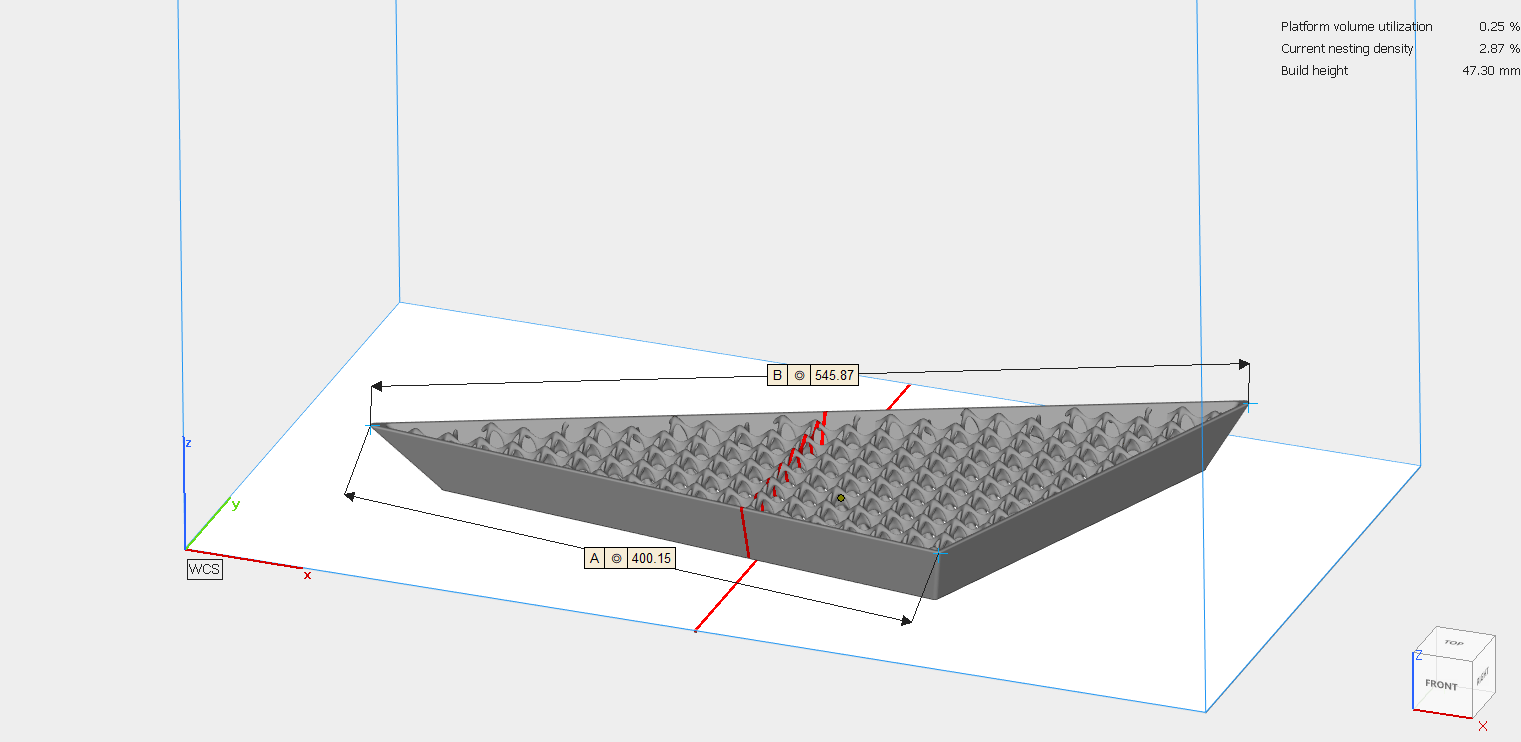
The collaboration between Prosilas and BASF Forward AM has yielded significant results, such as the Skeleton Sole for Philipp Plein, the Lube Volley case study, and the validation of lattice structures printed in Ultrasint® TPU88A for the Ultrasim® software.
These projects exemplify a commitment to innovation and experimentation in the industrial field.
Properties and Industrial Applications of TPU
- Automotive
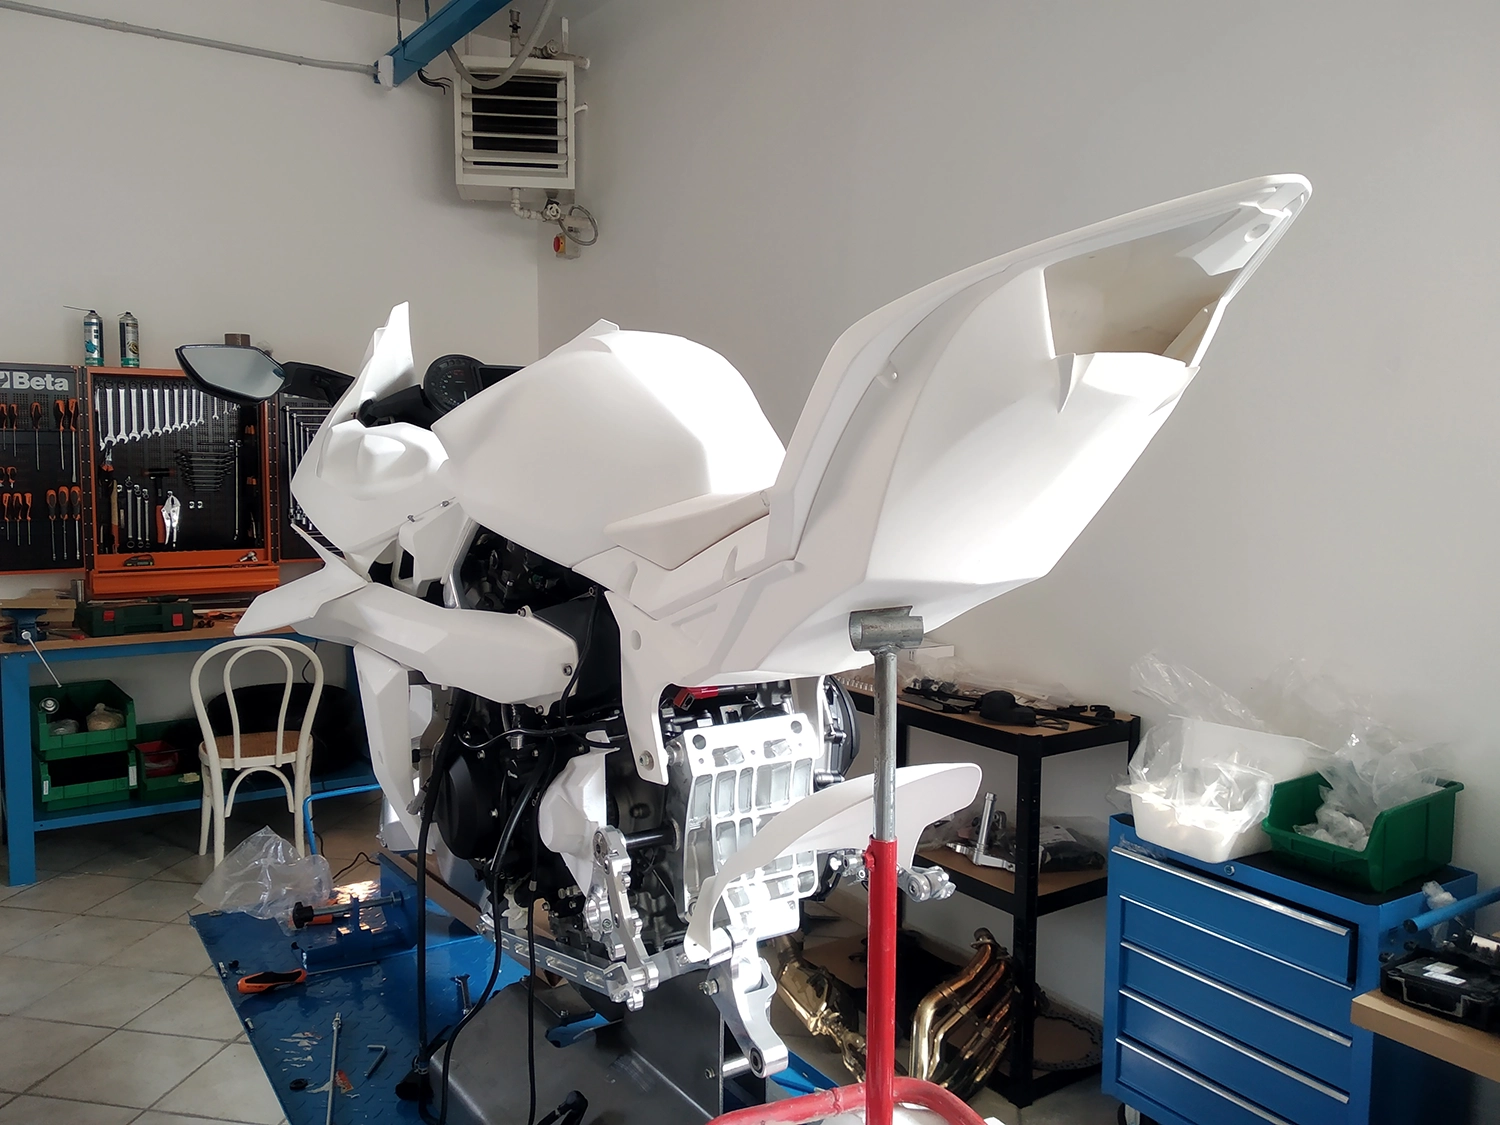
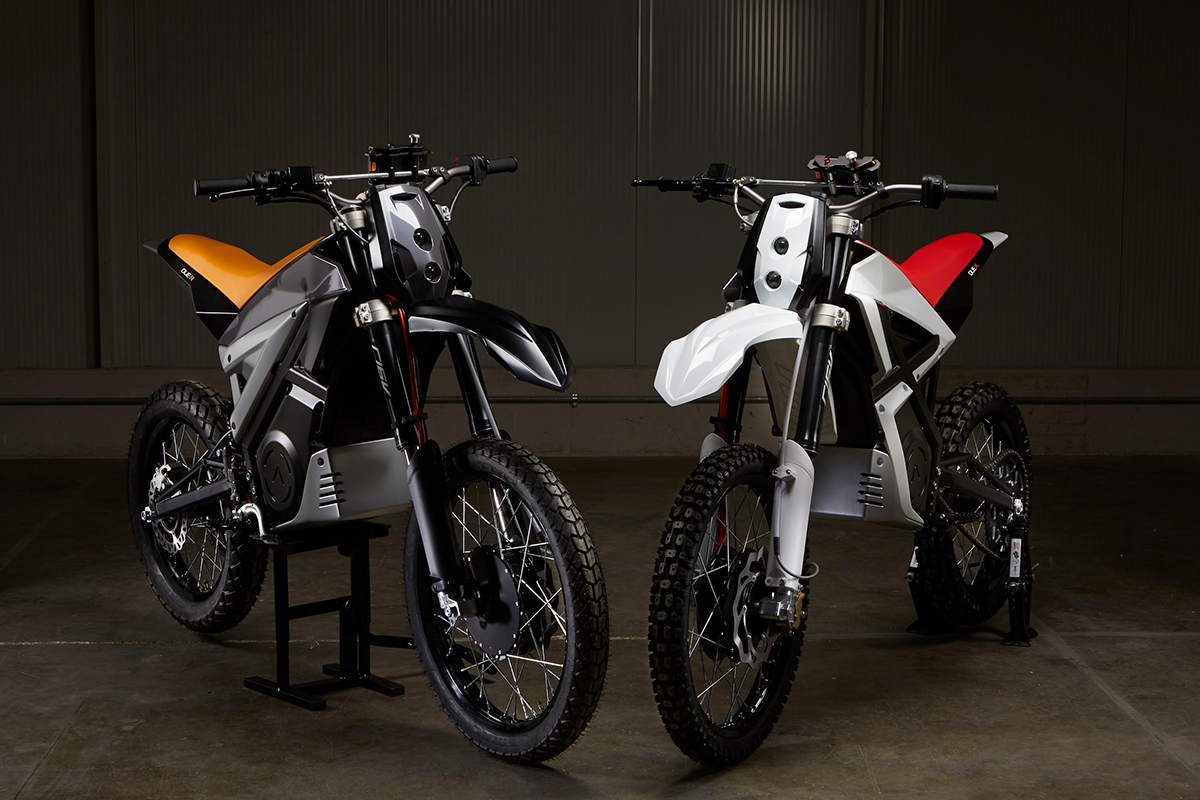
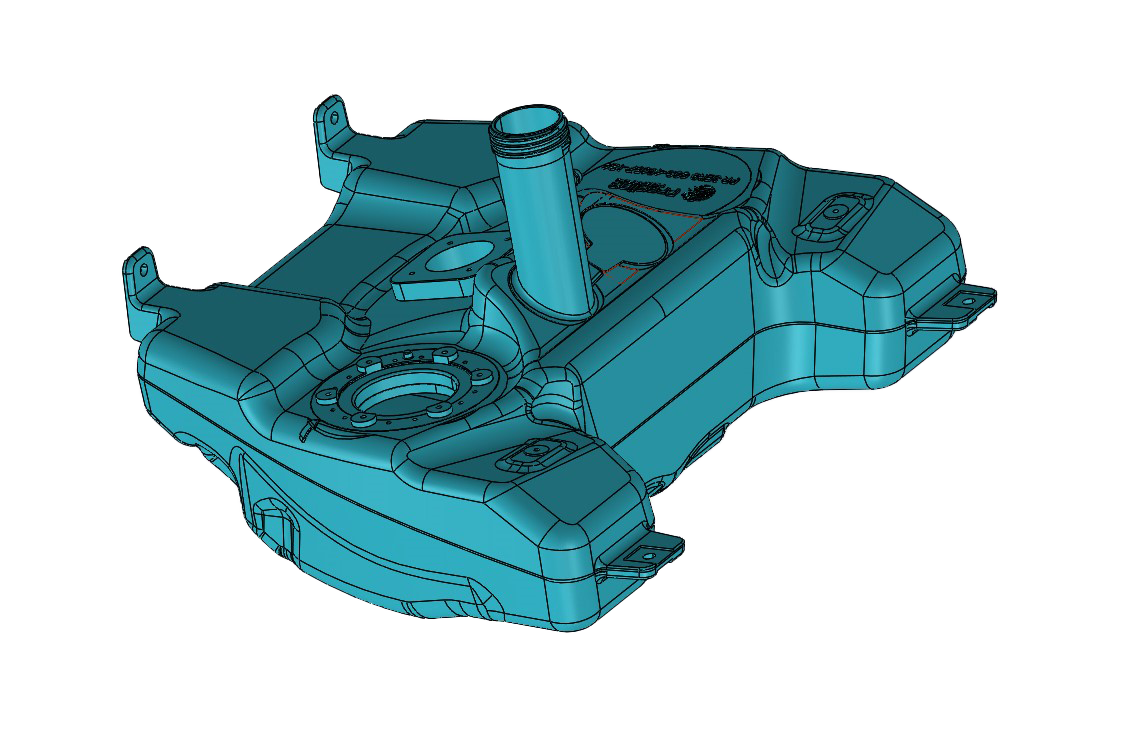
TPU excels in strength and rigidity, making it ideal for applications requiring a robust and durable structure. In the automotive industry, it is used for components such as gaskets, tubes, and mountings, where strength and integrity are essential to ensure optimal long-term performance.
- Industry
Its chemical resistance makes it valuable in environments exposed to aggressive chemical agents. In the industrial sector, TPU is employed in gaskets, mountings, and machinery equipment, where resistance to chemical agents is crucial for the durability and efficiency of the equipment.
TPU maintains its performance over time, ensuring stability and reliability even under prolonged usage conditions. This characteristic makes it particularly suitable for industrial applications that demand long-term durability, such as gaskets and seals for industrial machinery.
- Medical
3D printing with TPU allows for parts with exceptional detail resolution, ensuring precision in shapes and contours. This property is crucial in sectors like the medical industry, where precision is essential for prototyping and components for medical devices such as corrective insoles and prosthetic coverings.
The biocompatibility of TPU makes it safe for contact with the skin, making it ideal for medical applications like prototypes for medical devices and components for final devices, where safety and compatibility with the human body are crucial.
- Sportswear
Due to its high impact resistance, TPU is widely used in protective devices such as cranial remodeling helmets and equipment for the sports industry, ensuring reliable and durable protection in potential impact situations.
Post-process treatments
The versatility of TPU also extends to the various finishes applicable to 3D-printed parts.
Among these, painting, coloring, vapor smoothing, and various types of coatings. From untreated finishing to steam chemical smoothing, TPU adapts to the aesthetic and functional needs of industrial applications.
